Ubuntu: Updating and Setting up Softwares
Table of Contents
In my last article I wrote about my first impressions of freshly installed Ubuntu 14.04 and shared what I knew about Unity interface which Ubuntu comes bundled with. Today I am going to update the OS and install various softwares. You can follow the steps to replicate the same on your copy of the OS or skip a few steps as per your requirements.
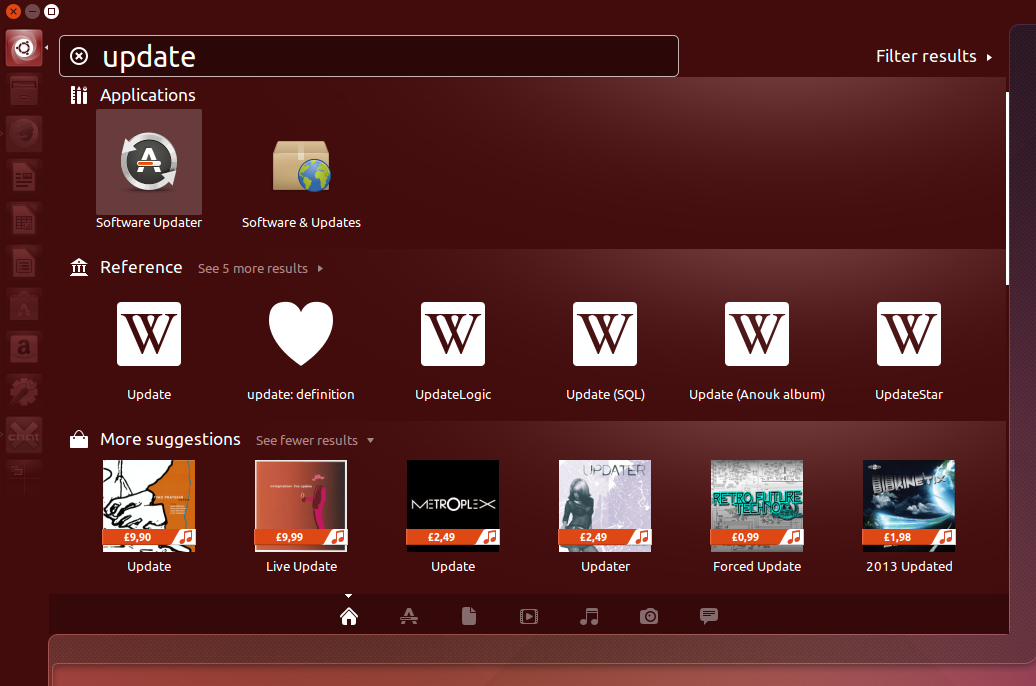
Installing updates is the first thing which one should do after installing a fresh copy of Ubuntu. Updates may include feature enhancement or security bugs. There are two methods to update Ubuntu. For first you can press “Dash Home” button on top of the Unity bar and type update, then select “Software Updater“.
 ][1]
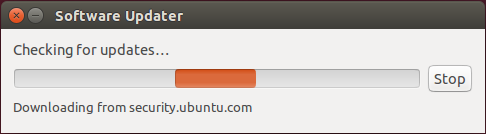
][1]This would check for updates and give you an option to install the updates right away. But there’s no fun in that. And I on the other hand will use more traditional way to update my OS…
The Terminal! #
No, I am not talking about the Tom Hanks starred 2004 movie (even though it was awesome). Shortcut to open an instance of the Terminal is Ctrl + Alt + T. Pressing the 3 combo keys will fire up this ultimate weapon of mass destruction! Or not. Well The Terminal can be mistaken as just a command line replacement of Windows, but I won’t blame you for that cause it looks deceptively simple. And therein lies the power of the terminal: simplicity. You can do almost everything from the Terminal. From the list that we made before we can see that the Terminal can be used to do following things (but not limited to):
- Updating software
- File Editor
- SSH Terminal to connect to remote VPS
- FTP Client
- IRC Client
sudo !! #
Terminal is simple. You type in the commands on it and press enter to execute the command. But some commands which require admin privileges won’t execute. Sudo, which stands for Super user do is a command which you can prefix before any command you want to run in privileged mode. If the command you run requires privilege mode and you forget to use sudo, terminal will greet you with “Permission Denied” error. It is then when you can order Ubuntu to run the previous command again but this time with sudo. Example:
$ apt-get install vlc
Permission Denied.
$ sudo !!
sudo apt-get install vlc
Yes sir, installing.
In the above example, line beginning with $ is where I entered my commands. But you have to be extra careful in using sudo since as I said earlier, Terminal can be a real weapon of mass destruction if you keyed in wrong command with sudo.
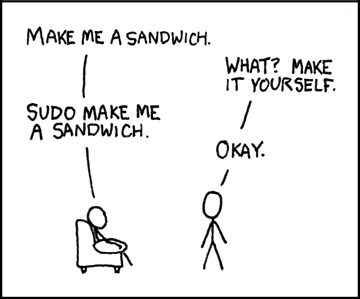
Sudo is equivalent to “Run As” option in Windows.
Now that we know about the implications of sudo, lets see how to update Ubuntu using the Terminal:
Updating Ubuntu #
Open up Terminal and type:
sudo apt-get update
sudo apt-get dist-upgrade
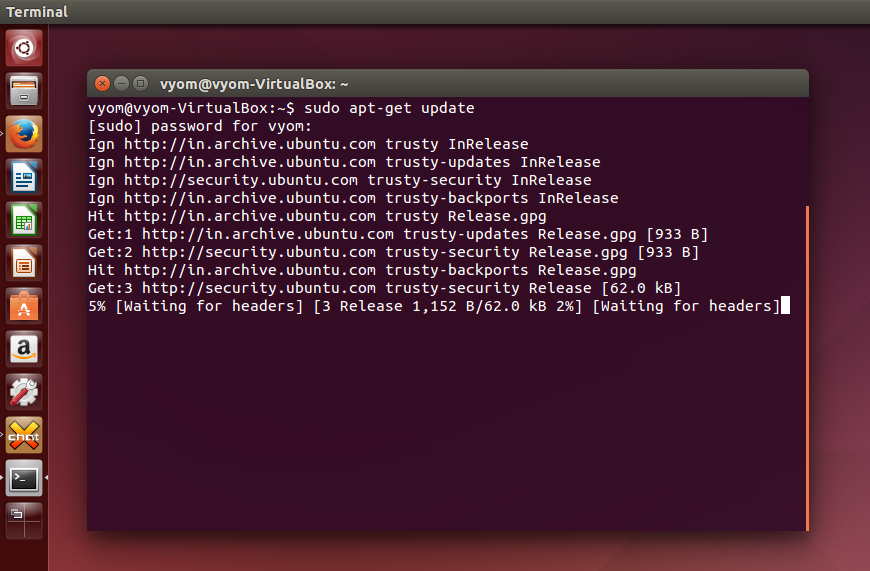
You will be asked for the root password in the first command. You will need to enter the second command after first one finishes. You may need to confirm updating by pressing “Y” while the update is being installed. As you type these commands, you will see wall of texts suddenly scrolling on the screen. This is the Terminal updating Ubuntu, my friend. That’s all it took. Just a couple of quick commands. No clicks. And the system is now updated with the latest security updates. That’s the beauty of the Terminal. To know more about what each of these commands do, you can read about this in this thread.
 ][2]
][2]| Softwares in Windows | Ubuntu Alternative |
| Pre-shipped | |
| Firefox | Firefox |
| Microsoft Office Picture Manager | Shotwell |
| Everything | Locate command in Terminal |
| Google Talk | EmpathyIM |
| Winamp | Rhythmbox |
| MS Office | LibreOffice or Wine |
| BullZip | PDF Printer |
| PuTTY | Terminal |
| FileZilla | Terminal |
| uTorrent | Transmission |
| To Install | |
| Nettalk | XChat |
| VLC Player | VLC |
| Steam | Steam |
| Telegram | Telegram |
| Dropbox | Dropbox |
| F.lux | F.lux |
| Microsoft Office Picture Manager | GIMP |
| Wordweb | GoldenDict |
| Netmeter | Conky comes closest |
| IDM | uGet |
| Winamp | Banshee |
| Code::Blocks | Emacs |
| MinGW (C Compiler) | GCC |
| Future Additions | |
| Teamviewer | Teamviewer |
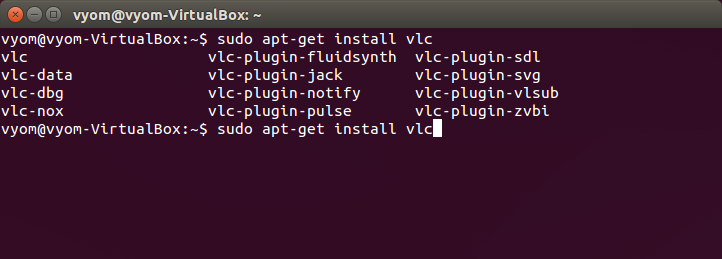
sudo apt-get install package_NameHere, **sudo :** Tells Terminal to run the command in Privileged mode (admin mode), **apt-get :** APT stands for Advanced Packaging Tool (APT) and is a powerful command-line tool which is used to among other things, installation and up-gradation of software packages, **install:** This command tells Ubuntu to install a new software package. This command could have been replaced with “remove”, “update” and “upgrade”, **package_Name:** Packages is a terminology of Linux and its just a fancy name for softwares. It is the actual name of the software which you would need to specify for that software to get installed/removed or update. A good thing is that you don’t need to know the exact name of the package. Just enter for eg, **sudo apt-get install vlc** and press tab twice, and a complete list of all the package which begins with VLC will be given to you as options.
 ][3]
][3]sudo apt-get install xchat-gnome sudo apt-get install vlc sudo apt-get install transmission sudo apt-get install gimp sudo apt-get install goldendict sudo apt-get install conky sudo apt-get install uget sudo apt-get install banshee sudo apt-get install emacs sudo apt-get install gccBut there are some softwares which you can’t install from apt-get command since you won’t find the required package in the repository. In our case those are: Telegram, Dropbox and F.lux. You can install these apps by following commands: #### **Dropbox (source):** For 32-bit OS:
cd ~ && wget -O - "https://www.dropbox.com/download?plat=lnx.x86" | tar xzf -For 64-bit OS:
cd ~ && wget -O - "https://www.dropbox.com/download?plat=lnx.x86_64" | tar xzf -Then following command to start the dropbox daemon:
~/.dropbox-dist/dropboxd#### **F.lux (source):** Installing f.lux is pretty straightforward. Just enter following 3 commands:
sudo add-apt-repository ppa:nathan-renniewaldock/flux
sudo apt-get update
sudo apt-get install fluxgui
First command adds information about f.lux package in the repository, second command updates the list of packages and the final command actually installs it. #### **Telegram:** Installing Telegram is the most tricky part. Since Telegram doesn’t provide any installable package.
sudo add-apt-repository ppa:atareao/telegram
sudo apt-get update
sudo apt-get install telegram
Now that we have installed all the softwares we needed we are ready to get into the nitty gritty of personalization, which I would write about in next article. #### **Teamviewer:** Teamviewer is not maintained in any of the apt repositories. So it have to installed via a .deb file. Here’s how to do it. 1. Get the .deb file from here: http://www.teamviewer.com/en/download/linux.aspx (always get 32 bit) and save it in Downloads directory. 2. Open a Terminal and write following commands.
cd Downloads
sudo dpkg -i teamviewer_linux.deb
It is to note that the name teamviewer_linux.deb is the name of the .deb file you downloaded and can be anything else too. If you face an error like following then some dependency have to be resolved:
dpkg: error processing package teamviewer (--install):
 dependency problems - leaving unconfigured
Errors were encountered while processing:
 teamviewer
Run following command to resolve the dependencies and execute the sudo dpkg command again.
sudo apt-get install -fNote that running above command the package (teamviewer) and it’s dependencies will be installed and there’s no need to run the dpkg command again. There are ways to download a file from Terminal itself using wget but more on that in later articles. In the end here’s the customary inclusion of the following xkcd comic: